Common Real Estate Photography Mistakes
Pictures of the properties that you market will spell a lot of difference in your effort to sell them. It’s a fact that most people are visual creatures. Their perceptions of things and decisions are easily influenced by how these things appeal to their sense of sight.
Imagine trying to sell a luxury villa with an infinity pool, huge lanai, overlooking deck, and underground car park through an online platform. You are amazed at how the property looks, and you are too excited about the possibility of your client enjoying the perks that you’re eager to sell it to them. But how do you convince another person to take another look at your listing? Though you can always bring your prospective clients to the property for them to inspect it, you can’t do that unless you first captivate them with photos.

The truth is 98% of real estate buyers look at the property photos before they get to know it better. On top of that, studies also reveal that properties, especially the high-end ones, increase their likelihood of selling by 50% if they come with professional-looking photos. Real estate brokers who took a giant leap of faith and hired professional photographers to take photos for their property listings reaped the benefits of their investment. In fact, they are so convinced of its benefits that they never moved back to using amateur photos ever again.
To help you improve the way you take real estate photos, here are some of the most common photography mistakes you need to stay away from. Also included in the discussion are corrective steps to get impressive images every single time. ‘
Shooting photos from your perspective
When you’re in the sales industry, always remember that your client’s needs should always be your top of mind. This should also show in the way you take pictures. What does a buyer want to see? This may take some time to get the hang of, but you will surely get there with constant practice. Before you introduce these changes to your current listings, do your research first.
If you have existing clients interested in the properties you have, ask them what aspects of the property they want to see. Suppose the listing platform allows you to upload over 20 photos, the better. Exhaust the maximum number of photos allowed to be uploaded. Also, take note of the ideal photo size before you upload. If you could deliver multiple listing service-sized photos, your clients will thank you for it.
As soon as you upload your listing, ask your clients for feedback. Ask them if the photos you uploaded are what they need or compelling enough to make them want to purchase.
If you find it hard to ask for feedback from your clients, consider doing thorough market research. Check listings that quickly sell. Though the lister wouldn’t share their trade secrets, the visual appeal of the photos within that listing are more than telling. Take a look at the angles of these photos. Check the photo quality.
Position yourself as a possible buyer. Are the photos you’re looking at enticing enough to make you want to skim through the listing? What elements of the images appeal to you most? What do you feel after looking at them? If you have an overall positive feeling towards the listing, then there is an equally high chance that your prospective buyer will get interested.
Pointing the camera flash directly into the object you’re photographing
Using camera flash in taking photos is often necessary. However, there are instances that it’s just not helpful, most especially when you point it directly into a room you’re photographing. It will give the said room and photo a rugged look. It’s just like taking a paparazzi photo of a drunk celebrity at wee hours of the morning — they looked shocked and lost.
Instead of using the flash directly, let the light bounce off the ceiling or wall. This simple trick can quickly diffuse light, effectively softening the look of the photo. Instead of showing a bright photo center with a quick light drop-off around the edges, you’ll see a well-balanced picture that highlights the flattering features of the property. Aside from that, this simple shift can also soften and lighten the vibe of your photos. Instead of looking staged, your image will now look warmer and more inviting to the viewer. Just ensure that the camera flash gets brighter as you make it bounce. The rule is to make light travel fast enough to fill the shadows.
Shooting photos using fisheye cameras
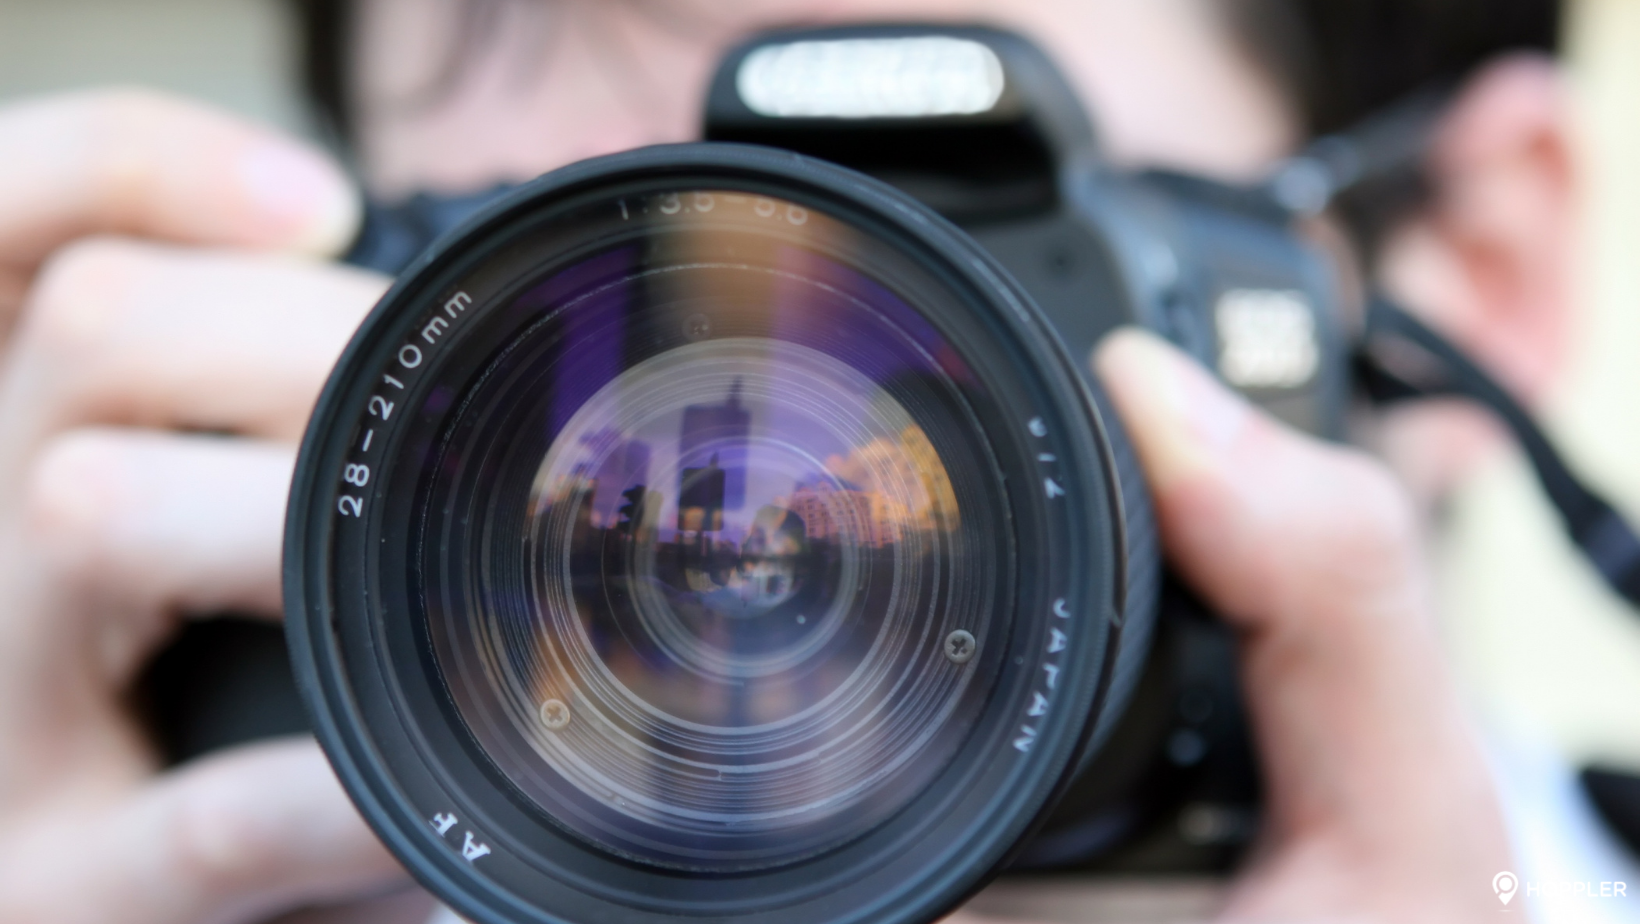
When you talk about lenses, some people think that it’s automatically the better choice if it’s wider. Though there are many benefits to a wide-angle camera lens, and it’s necessary for some listings, going extra wide isn’t always the way to go. If there’s one solid advice experts want to share when it comes to camera lenses, it would be this — stay away from any lens that’s wider than 16mm or 10mm on full or cropped sensor cameras. These are already considered fisheye lenses.
Being ultra-wide, these lenses have more distortion, making it hard to shoot clear photos of any space. The distortion degrees of these lenses make it challenging to correct the said distortion and straighten lines while editing. In the end, your photos will look blurry, just like amateur snaps, instead of being professional-looking.
Professional photographers and real estate agents who are pros at taking their own listing photos suggest using a full sensor camera with a lens that measures anything between 16 to 20mm to process great-looking images. The 16mm lenses are often only used when photographing small spaces. You can also experiment and find what works best for you.
Editing photos individually
If you’re making a listing, chances are, you’ll be uploading many photos. If you want to hasten the process, you also need to hurry your photo editing process. Some real estate brokers get caught up with each image easily. However, you need to remember that real estate customers are not in for artistic work. They’re looking for something specific in your photos, so you need to give it to them.
They would appreciate you more if you provide clean, crisp, and professional-looking photos to showcase the spaces and features they are interested in. This explains why instead of editing individual images, edit them in batches. There are various ways wherein you can incorporate editing in your existing workflow. If you have past edits, make sure to save them as presets. The next time you edit photos, simply apply these presets to the newly imported photo batches.
Aside from this, you can also start editing a photo. After that, select the applicable images following it before clicking ‘sync.’ This simple step will allow you to replicate your recent settings to all the other chosen images. You may still want to go through each photo to ensure general edits, lines, and lens corrections are according to your preference. However, editing photos in batches will surely save you lots of time.
Taking photos without a list
Time is always of the essence in real estate photo shoots. The budgets for the photoshoots are usually low, while the clients are always rushing things to finish the listing ASAP. While the whole process is typically fast-paced, it’s not an excuse for you to forget things. Yes, you can always reshoot when you miss something, but that would mean extra costs you might end up covering.
It’s essential to plan your shoot ahead of time To ensure you’re fast yet accurate and accurate in tackling the task. The best way to plan is to prepare a shortlist of all the parts of the property you intend to shoot, including the angles of every space you want to showcase. Take note that every property has its unique details and qualities, but there are also standard shots you need to know about these different properties. For instance, you will always need to get a broad picture of every bathroom and bedroom.
However, you can also add more shots to show the design of the room. This extra shot will appeal more to those looking for specific angles of the property. If you have spare time during the shoot, consider adding details and vignettes. Be brave enough to modify or add to your basic property shot list. If you think the shot you’re aiming for will add value to your prospective client, go for it.

What to do when you’re not good at taking fantastic photos that sell
Let’s face it. You may have been trying so hard to get the best shots for your property listing, but you’re not making good progress. While the ability to capture captivating photos that sell is one of the most lucrative abilities of a real estate agent, it won’t hurt if you ask help from seasoned professional real estate photographers. You can take the chance to learn from them so that you can do your own photoshoot later. How does an experienced real estate photographer help you? Check these benefits out.
Working with a pro saves you lots of time
By now, you already know that working as a realtor often requires you to be a jack-of-all-trades. Currently, you might be working as a Customer Service Rep, and later, you might find yourself working as a Virtual Assistant of your OFW client. One of the many hats a realtor wears is being the Property Manager of his listings. This means that he is responsible for uploading information and photos to his property listings. If you can’t be the photographer as well, ask an expert to do it for you.
With an able and reliable hand working with you, you can be at ease to leave the task to him. Meanwhile, you can use the time you saved for other tasks you’re exceptional at. At the end of the day, you get to get more things done. You also get to achieve more results without stressing yourself out.
You will impress more clients
Your role as a realtor doesn’t end after successfully negotiating the commission you’ll get for every property you sell. You need to show that you’re worthy of the money your client gives you. This means you have to work hard to close the deal and sell their property at a decent price point. You can easily wow prospective buyers if you have photos that will show them what they want to see.
If you can’t take these photos creatively, hire someone who has the eye for captivating and stunning photos. Once you upload these photos on your listing, you can wow both the buyer and seller. Your real estate firm will also be equally proud to have you on board. You see, the listings you make and photos you upload are like your portfolio. An excellent, smart, and polished-looking listing sends an impression that they’ll be working with someone credible and knowledgeable. It’s easy to make clients trust you if you show craftsmanship and detail in your work.
Well-shot photos will make your listing sell quickly
The photos in your listing act as your ‘foot-in-the-door’ sales strategy. Your prospective sellers may not be interested in the property at first. However, as they look at your listing and skim through the pages, your excellently shot photos might change their minds and create a demand in them. If the pictures impress them, it won’t be long until you hear countless inquiries from high-quality leads.
Takeaway
Mastering the art of real estate photography takes time and effort. If you’re not good and savvy with cameras, the challenge might even triple. But don’t let these difficulties get to you. There is nothing in this world that’s impossible to master for an eager and driven learner. Give yourself time, learn when you can, and never pass on the opportunity to improve. All these sacrifices will pay off each time you close a deal and receive commission!


